
This website describes how to use FlexFox Transmitters to organize Radio Orienteering events. It is a work in progress and will be updated as needed to support those who are using FlexFox transmitters.
Viewing Event Information
Here are the steps describing the simplest way to view event settings using a “Master” FlexFox.
Step 1: Power on the Master, which is usually the Finish Beacon transmitter.
Step 2: Connect to the WiFi hotspot named “Tx_Master” using a computer, cell phone, or tablet.
Note: Ignore any warnings about the network not being secure.
Step 3: Open the Chrome browser. Chrome is recommended because it is the most tested, though other browsers will likely work.
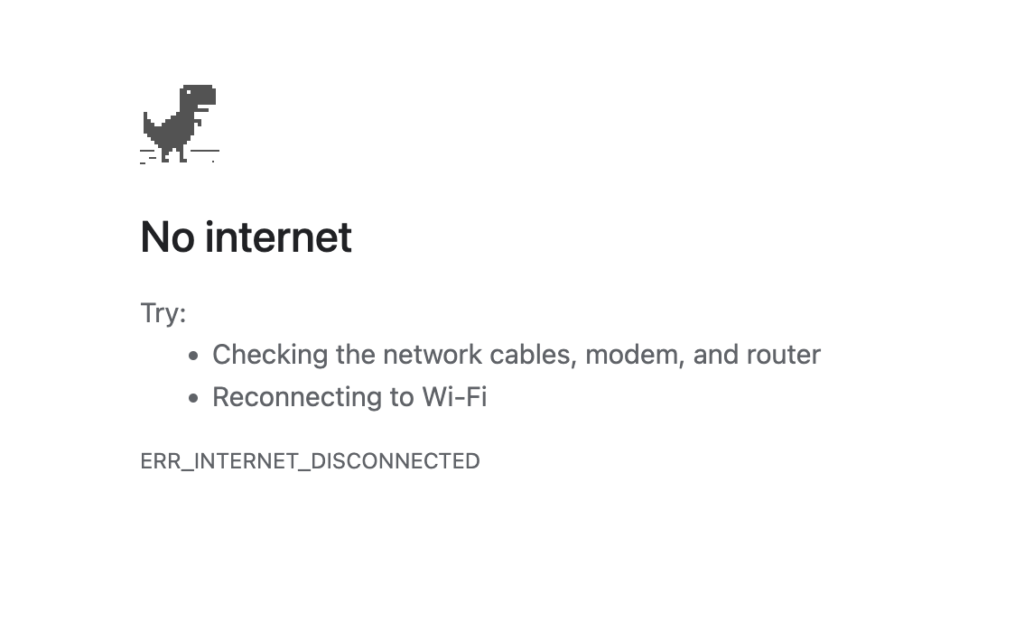
Note: ignore any warnings about there being no internet available.
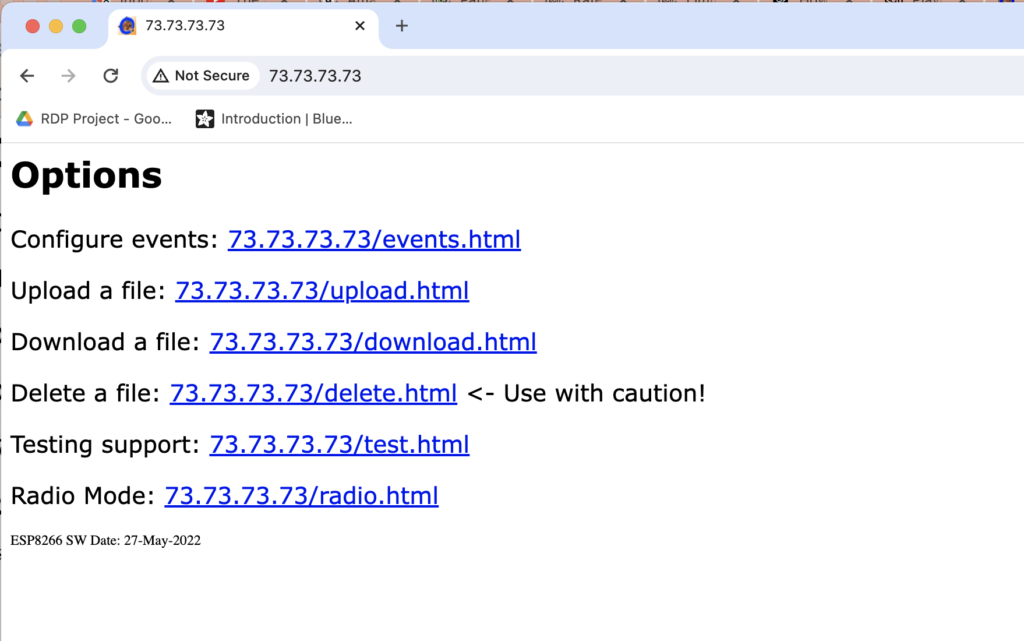
Step 4: On the URL address line, type in the address: 73.73.73.73 and hit return. If you get an error message, just try again. The browser window should open a simple menu. Click on the top menu item: “Configure events: 73.73.73.73/events.html“
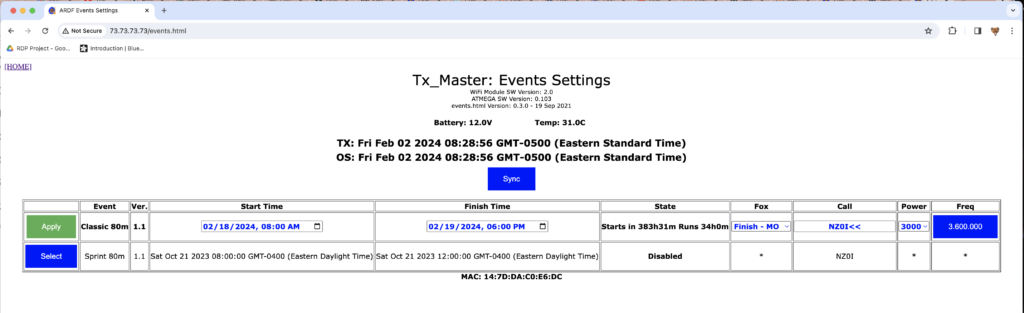
Step 5: The “Events Settings” window should open, displaying a table. The top table item is the next programmed event. You can read the Start Time, Finish Time, and other information directly from this window.
When you are done, turn off the finish beacon transmitter and reconnect your device to its usual Wi-Fi network. (As long as you don’t change the table information, no event settings will be affected.)
The approach described above will also work for reading Slave (fox) transmitters’ event information. The only difference is that you will need to connect to a Fox transmitter’s unique SSID over Wi-Fi. Fox transmitters each have a unique ID with the format “TX_C2A943F2,” where the last eight characters are unique to each transmitter. Once connected to a Fox transmitter over Wi-Fi, follow steps 3 to 5 above.
Changing Event Information
Here are the steps describing the simplest way to edit event settings using a “Master” FlexFox. Event settings include an event’s start time, finish time, call sign, power levels, and transmitter frequencies.
Follow all the steps (1-5) listed for Viewing Event Information above. It is important to use a Master FlexFox so that any settings changes you make can be synced to the other FlexFox transmitters used in an event. Information on syncing is provided below.
With the Events Settings page displayed, you can easily make changes to many of the important settings affecting transmitter behavior, sync the Master’s clock to the computer (or smartphone) time, and view transmitter status information.
Events Settings Page Description
FlexFox firmware versions are displayed just below the Events Settings title at the top of the page. This information can be useful for determining whether a FlexFox is using the latest software.

The measured battery voltage and the approximate temperature of the FlexFox printed circuit board are displayed just below the software version information. The voltage and temperature information can be useful for diagnosing battery or ventilation problems.

The time and date held in the transmitter’s real-time clock, and the time and date that the browser reads from the computer (or cellphone or tablet), are displayed just below the voltage and temperature data. (It is normal for the time to update once every two seconds.) The transmitter can be synchronized to the computer time by clicking the blue “Sync” button. The two separate time readings should be identical immediately after time has been synchronized.

The Events Table fills the bottom of the web page. The remainder of this section describes how to use the Events Table to configure an event.
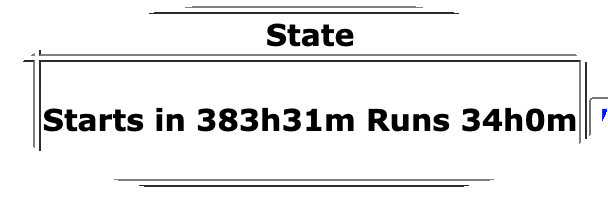
Event Status
Each row of the Events Table lists an event. The event at the top of the list is the next event that is scheduled to run. Events that are not scheduled to run appear at the bottom of the list.
The sixth column of the table shows the current state of each event. An event scheduled to run has a start time and a finish time that are both in the future. An event that is not scheduled to run (disabled) has a start time and a finish time that are both in the past. An event that is currently running has a start time in the past and a finish time in the future.
Select an Event
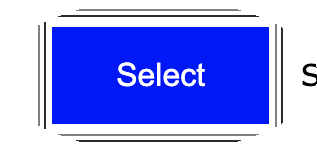
If the event you want to edit does not have table entries (like start time and finish time) that can be edited, you need to select the event by clicking on the blue “Select” button in the first column. You will then need to wait a few seconds for the table to reload. You should then be able to edit the entries in the selected row.
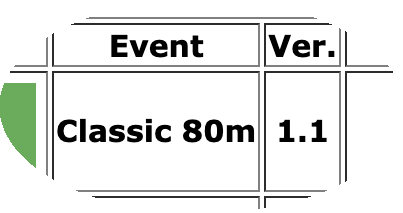
Event Name and Version
The name of the event is provided in column 2. The version shown in column 3 is used to identify the version assigned to the event description file contained in the FlexFox file system. Columns 2 and 3 cannot be edited directly. For more information, see instructions for creating, uploading, and downloading event description files.
Start Time and Finish Time
Click on the start or finish time (columns 4 and 5) to make changes. The page will not allow the finish time to be earlier than the start time. Changes made to the start and finish time will affect the event’s status, shown in column 6.

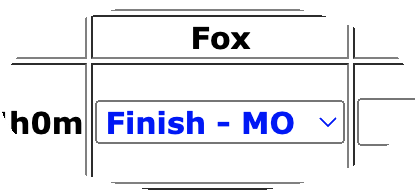
Fox Settings
Column 7 displays the Fox Setting, which corresponds to a transmitter’s role in an event. For instance, a Classic event has six roles: Beacon, Fox 1, Fox 2, Fox 3, Fox 4, and Fox 5. The role of the current transmitter (the one connected to by Wi-Fi) is always shown in column 7.
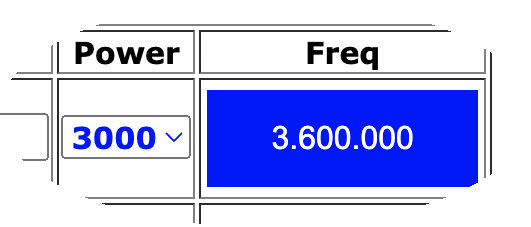
It is possible to set the power level and frequency for all event fox roles using column 7 to select the fox role to be modified. Once a role is selected, the last two columns on the right (power and frequency) will be updated to display the current settings of the selected role. After selecting the role to modify, make any desired changes to power and frequency, and those changes will be stored for the event.
After making any changes to the Fox role settings, be sure to set column 7 back to show the correct role of the Master transmitter (customarily, the Beacon transmitter is designated to serve as Master). Failure to do that would result in the Master being configured to function in an incorrect role.
Call Sign
Column 8 displays the station-identifying call sign used for the event. It can be changed to any alphanumeric string. All event transmitters will identify using the same call sign.

Apply Changes
Once all desired changes have been made to the event, return to column 1 and click the “Apply” button. This will write all changes to the event file stored in the Master’s file system.

Synchronizing
Synchronization is the process of copying a Master’s current time and event file(s) to Slave transmitters. Any transmitter not configured as Master is configured to function as a Slave.
A Master is open for synchronization business immediately after it is powered on. Slaves attempt to get themselves synchronized immediately after they are powered on.
Master Power-on Behavior
Immediately after being powered on, a Master listens for Wi-Fi requests to connect with it. A Master accepts requests from devices like computers, smartphones, and Slave transmitters.
A master will share its file system data (all its event files) and its current real-time clock setting with any Slave that connects with it.
If no connection requests are received, the Master will shut down its Wi-Fi module after a few minutes. Then, if no event is currently running, the Master will enter a sleep state that draws very little power from the battery.
Slave Power-on Behavior
Immediately after being powered on, a Slave listens for SSID broadcasts from nearby Wi-Fi devices, specifically searching for one with the SSID “Tx_Master.” If it detects a nearby device broadcasting that SSID, a Slave attempts to connect to it.
Once connected to a Master FlexFox, a Slave will proceed to receive the current time and file system contents the Master provides. Upon completion, the Slave is fully synchronized: its internal clock and its file system are identical to those of the Master.
The only information not updated during synchronization is a Slave’s role. So, if a Slave has been designated to be Fox 1 in an event named “80m Classic,” the Slave will retain that role even after synchronizing with a Master. Thus, after synchronization, all slaves have their clocks and file systems aligned with the Master but retain their individual event roles.
If no Master is found or after synchronization is complete, if no event is currently running, a Slave will enter a sleep state that draws very little power from the battery.
Synchronization Steps
Follow these steps to configure all transmitters for an event:
Step 1: Configure the Master FlexFox event(s) as desired. (See Changing Event Information.) Optional: It is recommended to leave the Master connected to the computer displaying the Event Settings page on its browser. Synchronization status messages will be displayed on that page while performing the following step.
If the Master shuts down its Wi-Fi module before you are ready for Step 2, simply turn off the Master and turn it back on again.
Step 2: Power on one of the Slave FlexFoxes. Order does not matter: Slaves can be synchronized in any order, but only one can be synchronized at a time.
Wait for the Slave and Master to complete synchronization. It takes about 20 to 30 seconds. After synchronization is complete, a message indicating success or failure will be displayed on the Master’s Event Settings web page.
If the Master’s Event Settings page cannot be viewed, observe the Slave’s flashing LEDs instead. After a successful synchronization session, a Slave’s LEDs will blink slowly, about once per second1. After a failed synchronization session, a Slave’s LEDs will blink quickly, about five times per second. In case of synchronization failure, turn off the slave’s power and repeat Step 2.
Perform Step 2 for each Slave, one at a time, until all Slave FlexFoxes have been synchronized successfully.
Prepare for Deployment
Once all transmitters are synchronized to the Master, they are ready for deployment. They may be powered off by disconnecting external power. Their internal batteries will keep their real-time clocks running, so time synchronization will not be lost. Transmitters can be powered on when they are deployed at the event venue.
Alternatively, transmitters can be left powered on. If no events are currently running, all transmitters will go into a low-power sleep state and wake up automatically a few seconds before the event starts. The transmitters will draw very little current from their external batteries (a few hundred microamps) while sleeping.
Footnotes
1 – After a successful synchronization of an event that is scheduled to be in progress, the synchronized Slave’s main PCB LED might send Morse code characters or might not illuminate at all if the Slave is not currently transmitting. In this case, observe the blinking LED on the Slave’s Wi-Fi daughterboard instead: its red LED should be blinking slowly, and its blue LED should be extinguished.