Deluxe Map Holder
With a little searching, it is possible to put together a rugged and lightweight map holder that attaches securely to your arm. Parts for this map holder can be found on Amazon or at most building supply stores, like Lowes or Home Depot.
An inexpensive and lightweight map holder can be constructed using corrugated plastic sign material. Such material is often available free of charge at the end of each election season! But it can also be purchased at a reasonable price at home supply stores or ordered online.
What You’ll Need
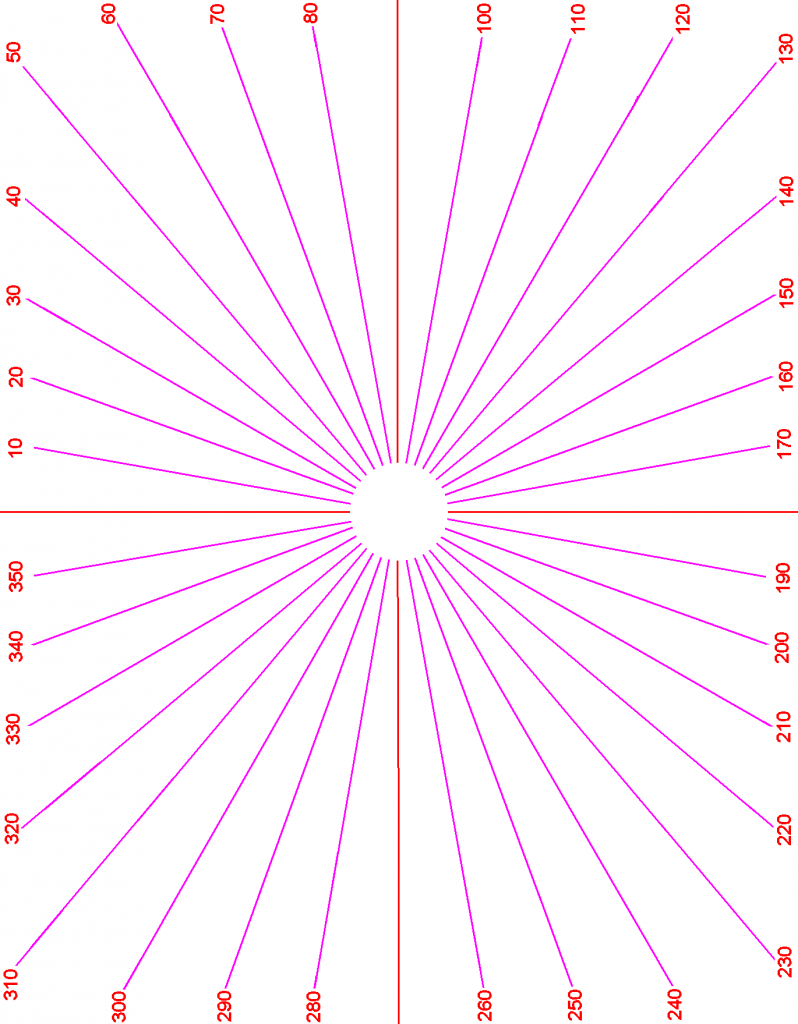
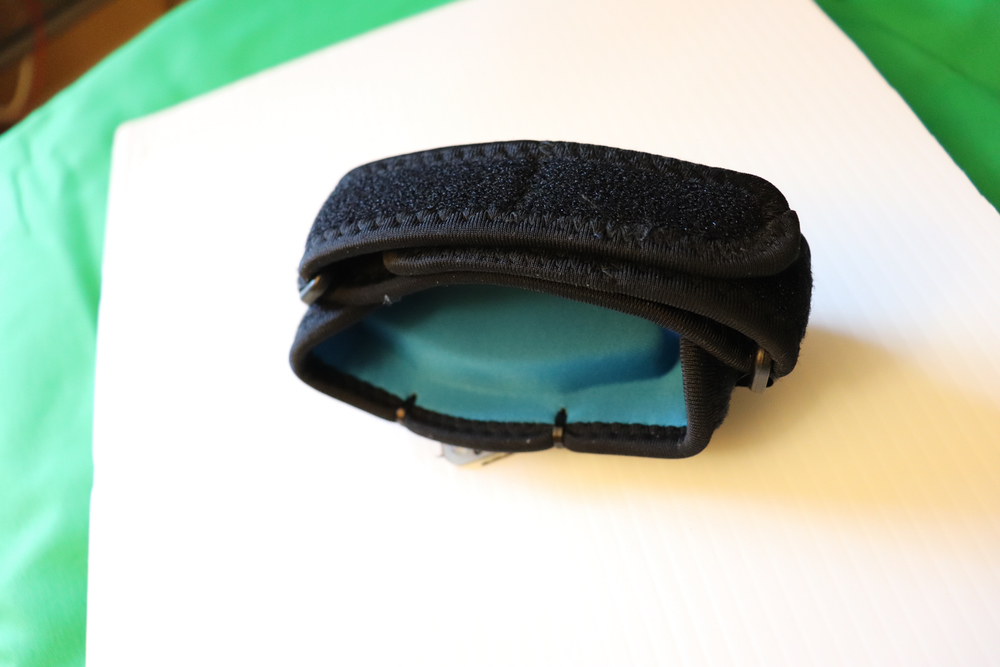
One (1) arm band similar to this one:
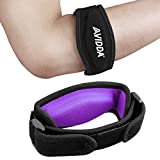
One (1) 2-inch or smaller lazy susan turntable bearing like this one:
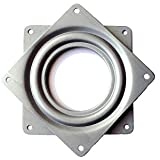
One (1) sheet of corrugated plastic yard sign material (only the sheet, not the stake) like this one:
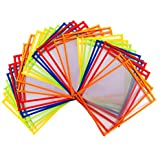
One (1) transparent sheet protector like one of these:
One (1) hot glue gun loaded with hot glue.
Four (4) cable ties sized to fit through the lazy susan bearing mounting holes.
Assembly
Place the lazy susan bearing on top of the arm band and punch four holes through the arm band aligned with the bearing’s mounting holes.
Attach one side of the bearing to the arm band using four nylon cable ties.
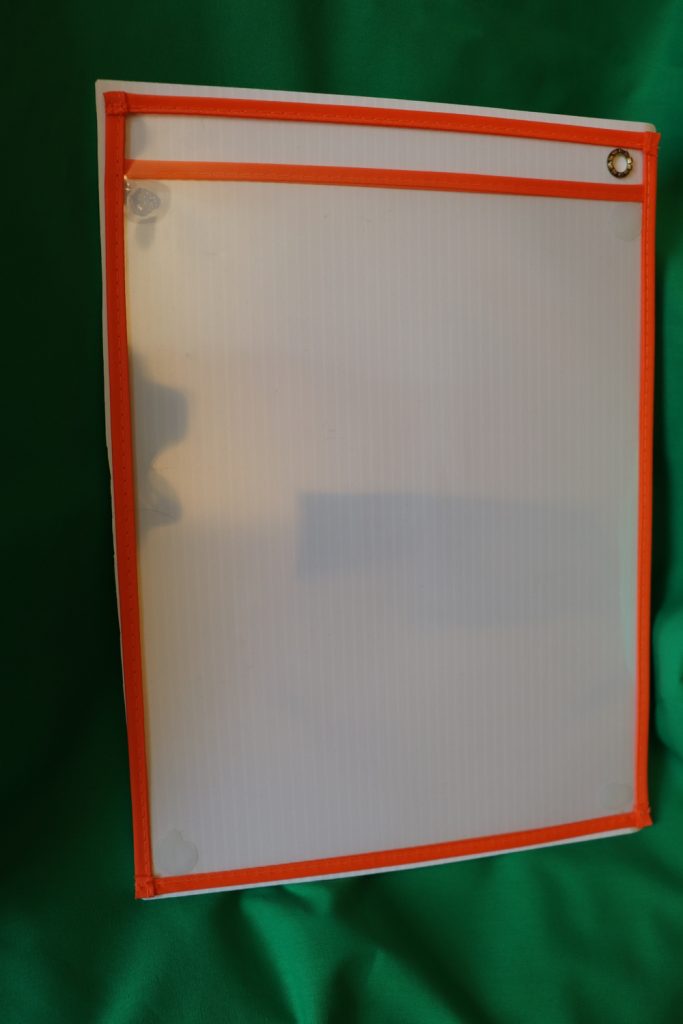
Cut the yard sign material to make the map board match the size of the sheet protector. Then mark the center on one side of the map board to help you align the bearing at its center.
Apply a generous amount of hot glue to the map holder plate and to the unused side of the bearing. Before the glue can cool, press the bearing and plate together and hold them steady until the glue has hardened.
Attach the sheet protector to the opposite side of the holder plate using hot glue at the four corners.
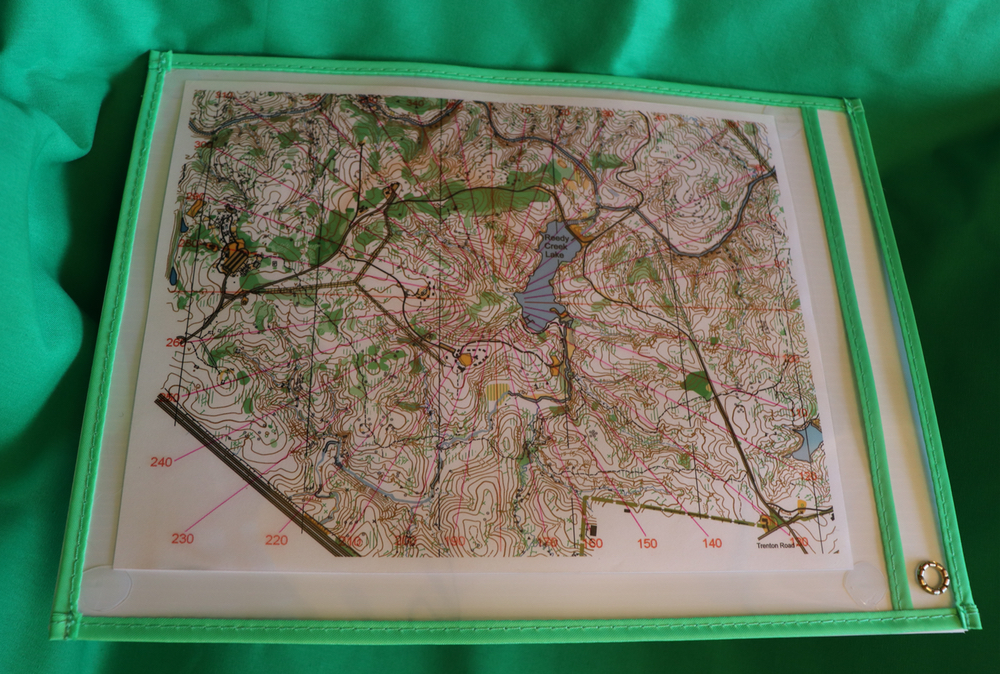
Map holder assembly is complete. Insert a map into the sheet protector, attach the map holder to your forearm and you are ready to go.
Snappy Map Holder
An inexpensive alternative to using a lazy susan bearing it to use a standard button snap.
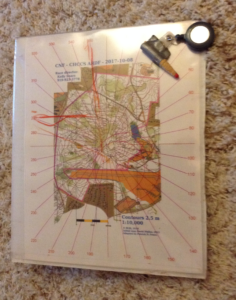
Map Holder Front View
Cutting the signboard to an ideal size to fit a heavy-duty clear vinyl envelope works nicely – suggested dimensions: 9.5″ x 11.25″ (24 cm x 28.6 cm), but you should select a size that works best for the size maps you will be using. After cutting the sign material to the appropriate size to serve as a map board, the board can be attached to a wrist support using a large snap. The snap will allow the map board to spin freely while keeping it securely and conveniently attached at the forearm.
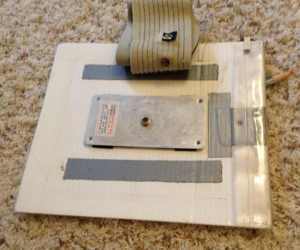
Map Holder Back View
Taping a thick, clear, vinyl envelope to the front of the map board using clear packing tape along three sides, provides a convenient, durable and reusable pocket for sliding a standard-size map and overlay into. The fourth edge of the vinyl envelope (the side with the opening) can be wrapped around the map board and fastened into place using a small piece of duct tape as shown in the map holder back view above. The duct tape strip holds the vinyl envelope against the back of the board and can be easily peeled back to gain access to the envelope opening when it is time to insert a new map.
Below are more suggestions and examples of components you might use to construct your map holder.
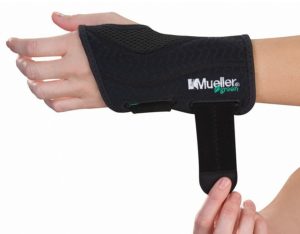
Be sure to obtain the correct size wrist strap for your arm, and for the wrist (left or right) corresponding to your map-carrying hand. Install a large button through the strap for attaching the map board.
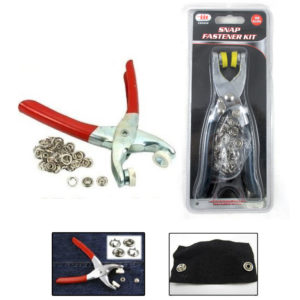
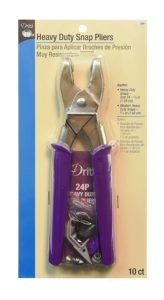
Button Installation Tool Examples
Install the largest heavy-duty button you can find, no smaller than 5/8″ (No. 24, 1.5 cm). Either steel or brass snaps work just fine, though brass has the advantages of being less prone to rust and is non-ferrous so it won’t interfere with a compass. The socket side of the snap (ring inside it) goes on the wrist strap at a convenient location for attaching to the back center of the map board. The studded side of the snap (the snap side that inserts into the socket) needs to be installed on a thin piece of metal (or hard plastic) backing that can be attached securely to the back center of the map board. Adding a second button socket to the wrist strap, to serve as a back-up, can help in the event that one button socket comes loose during a competition.
Bearing Marker
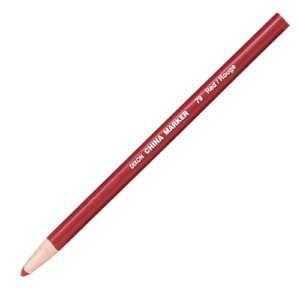
Directional bearings can be drawn using a grease pencil. Using a grease pencil instead of a pen allows bearing mistakes to be easily erased simply by rubbing them with a piece of cloth. Yet, grease pencil markings are totally waterproof and can be drawn on most plastic or vinyl surfaces (freezer bags, transparencies, or vinyl paper protectors). A single grease pencil can be cut into two or more conveniently-short bearing markers.
Choose a pencil color that contrasts with the other colors on your map. Orange is a good choice, and red, yellow, or blue also work well. Black, white and green might be more difficult to distinguish on some maps.
Listo 1620 marking pencils do a better job of marking and have a retractable lead that eliminates the need for sharpening or peeling paper.
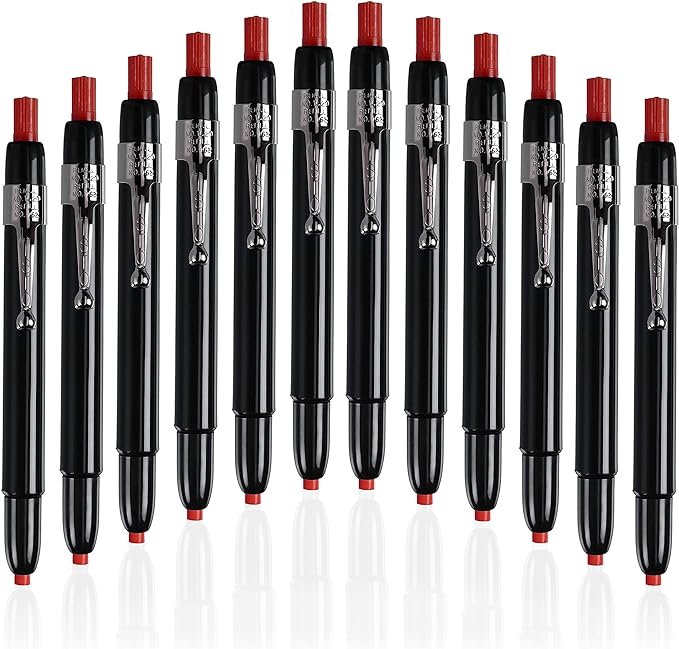
Many competitors tape a grease pencil directly to their index finger, thereby securing it in a convenient drawing position. By taping the pencil to their drawing finger they are guaranteed not to lose it, and it is always in position for quickly drawing a bearing.
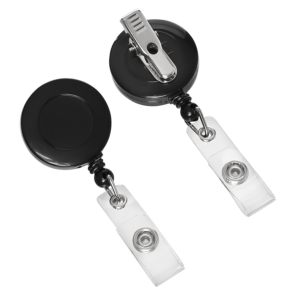
Carrying a spare grease pencil is a good idea, just in case one pencil breaks, or gets lost. The map holder front view image above shows one idea for attaching a spare pencil to the map holder using a retractable lanyard.
Transparent Bearing-Guide Map Overlays
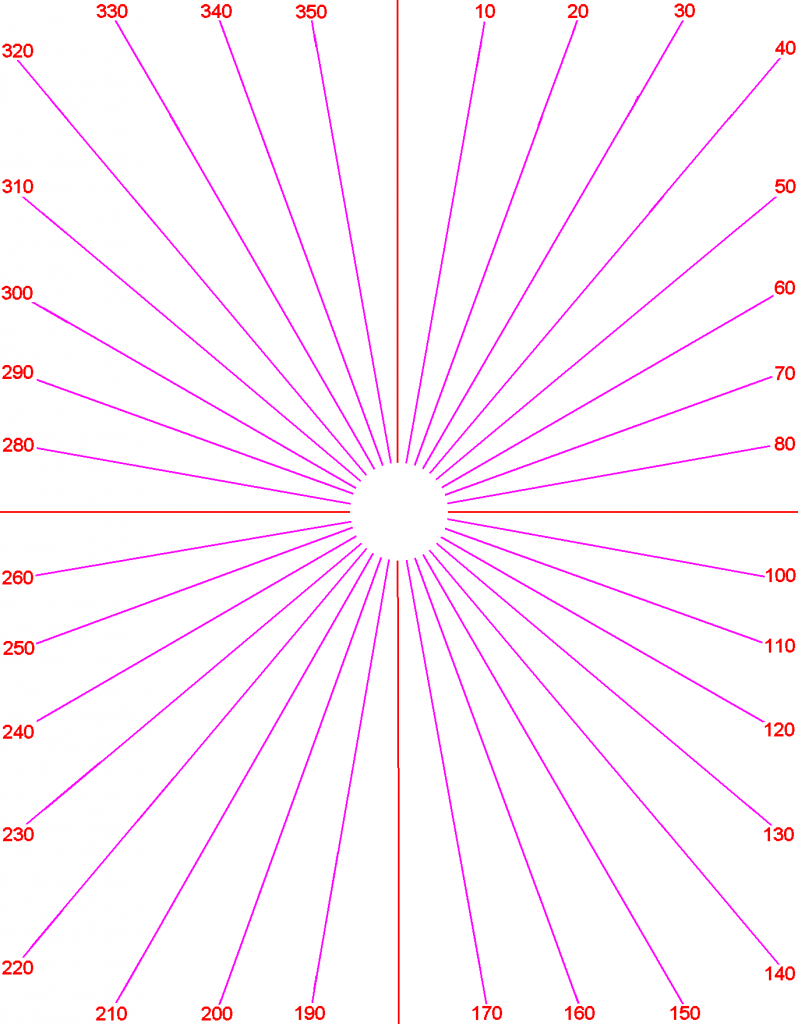
Inside the vinyl envelope, on top of the map, you should place a transparency with lines providing guidelines to help with drawing accurate bearings. The guide shows the directions parallel to which bearings should be drawn, making it simpler (less mistake-prone) to draw your bearings. Note that you will use the lines as angular guides, to help you quickly and accurately determine the angles to draw your bearings on your map. You’ll still need to locate your position on the map to determine the origin from which to draw the bearings.
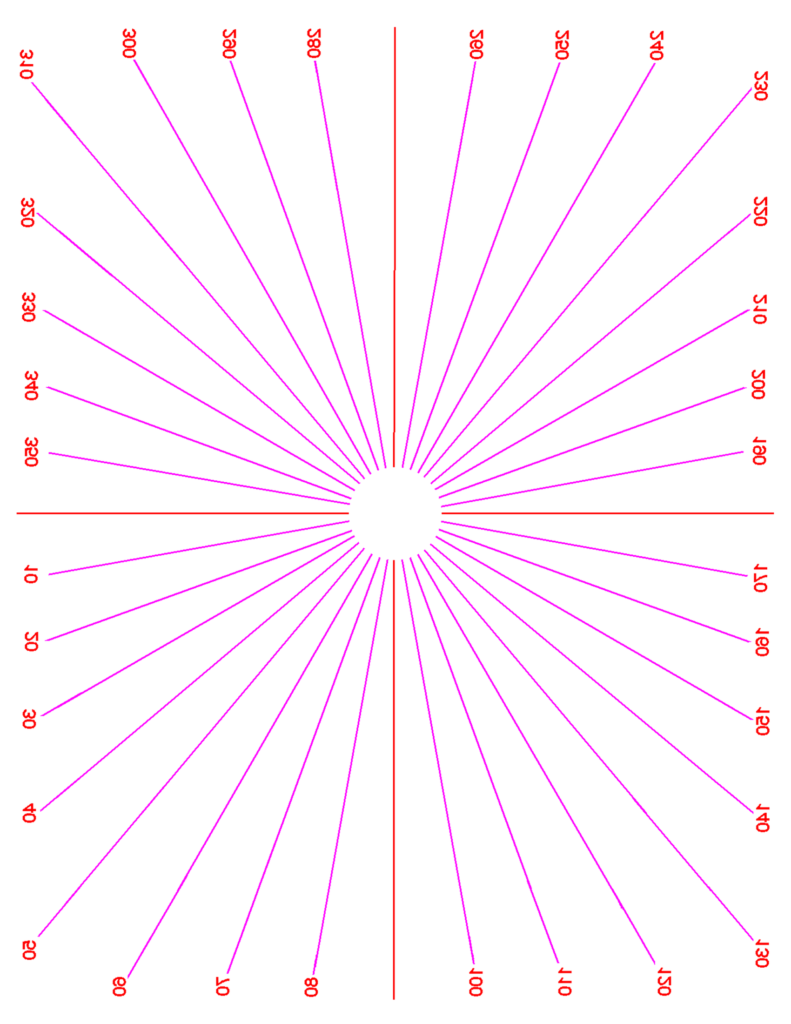
The below portrait and landscape reverse images of map rotation grids can be printed onto standard 8.5″ x 11″ transparency sheets designed for use with ink-jet printers. Blank sheets are available for purchase online, and perhaps at some brick-and-mortar office supply stores. The transparencies can then be laid on top of ARDF maps (ink side toward the map) to provide easy reference to map directions for drawing bearings. The colors for the lines have been chosen to avoid confusion with common map colors. You’ll want to have both landscape and portrait overlays available in order to fit them to either map orientation.
Another Overlay Option
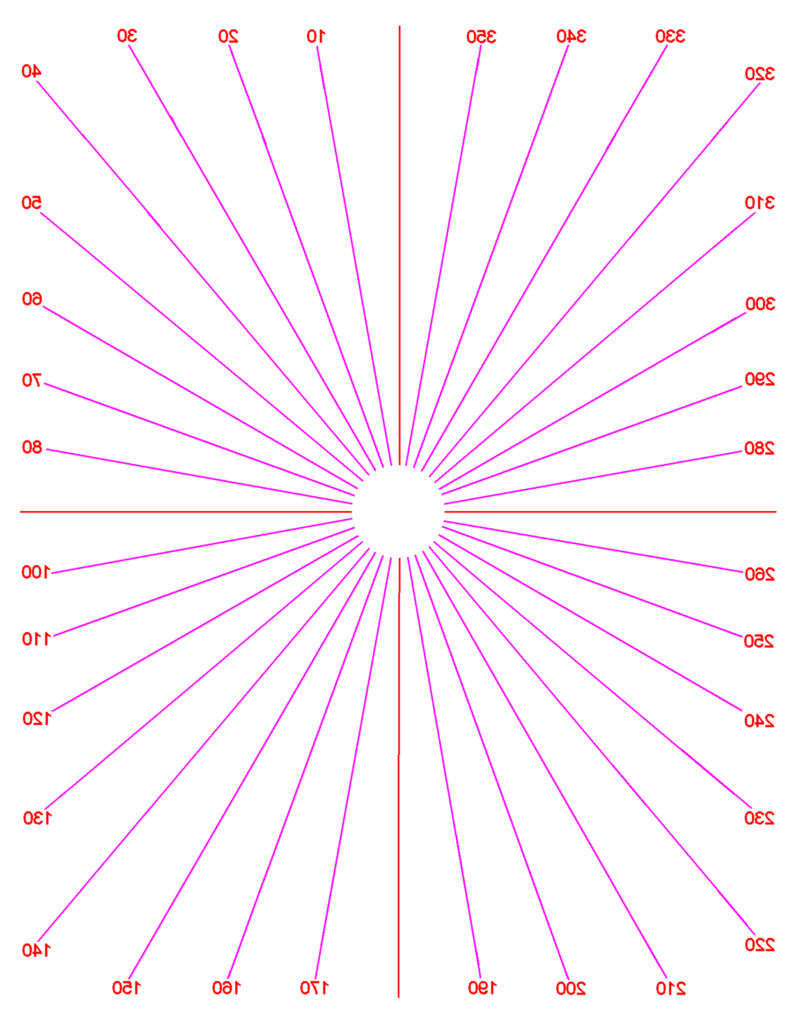
If you are the one printing ARDF maps for competitors to use then you have the awesome power to print the map with the overlay already applied on top of it! Simply use your favorite image-editing software to superimpose the appropriate overlay graphic directly on top of the map before printing. Alternatively, place the printed maps in a copier’s paper-holder tray, and “copy” the appropriate overlay image on top of the printed maps.
Use the non-inverted images below for directly applying an overlay image to a map. Be sure to scale the images to fit on the paper used for the maps.
